Showing posts with label Craft. Show all posts

Thursday, April 14, 2011

Crocheted Scarf.

 With winter approaching it is time to think of those poor naked necks. Here is a little something I put together for mine. 

Thursday, July 1, 2010

Op Shop Adventure.

Went to the Red Cross Op Shop in New Lynn and found the most amazing set of children's books. There are ten all together and then have everything from nursery rhymes to Greek mythology to Pride and Prejudice and Alice in Wonderland.


Also found some lovely fabric, two doilies and a set of two books on shorthand. I had never realised shorthand what shorthand was. Here's an example, it's the scratchy marks.

I have also finally finished my Owl and also felted a bird pincushion.


And this is Meow Face, he's the neighbours cat but he likes hanging out at our place. He is currently sleeping on the couch.

Monday, June 21, 2010

My new skirt and other things.

So I have finally finished Studio for the first half of the year, that was why I have been horrendously ignoring the blog, I apologise. I was working on a book to encourage office workers to bring plants into their workspace. My tutors acknowledged I was taking a risk by expressing my idea in book format but apparently I did not pull it off. I have learned from it and am ready to move on.
But at least the presentation looked good. Those colourful piles are copies of the book which I printed and bound.


I finally got around to using some of the fabric I picked up at a Karen Walker (I think it was Karen Walker, please correct me if I'm wrong) charity school yard sale a few years back. I made a skirt, the easiest skirt ever. I think the whole thing maybe took me an hour.

Before you start you will need enough thick elastic to go around your waist + 3cm seam allowance. This will be your waist band. For the fabric, choose something that can be doubled over to create the length of the skirt.

Step 1, measure your waist and add 3cm to allow for a 1.5ch seam.

Step 2, cut thick elastic to the waist+3cm length.

Step 3, measure length of elastic when fully stretched (not including the 3cm of seam allowance).

Step 4, measure and cut a length of fabric to the same length as the stretched elastic and add 3cm for seam allowance.

Step 5, sew the raw edges of the elastic together, good sides facing each other, (remember 1.5cm seam allowance). This will form the waist band.

Step 6, sew raw edges of the fabric together, good sides facing each other, (remember 1.5ch seam allowance) and press (iron) the seam flat.

Step 7, fold fabric in half horizontally to make a double layered doughnut shape keeping the seam on the inside.

Step 8, line up the seam of the elastic and the seam of your fabric and pin together.

Step 9, it is now time to sew the fabric into the waist band, stretching the elastic as you go. This will need some strong fingers depending how tough your elastic is.

There we go, Done! I sometimes like to roll the waistband over a couple of times, this gives it a ruched look, as well as shortening it a bit.


Just needed to share my love of Air Plants.


The little fluffy Owl below is one of my new projects. His body is needle felted and now I'm figuring out how to attach his wings and what to do with the eyes and nose. I'll let you know how he turns out.


I'm going to leave you with this image taken of the reflection in my light-box.

Sunday, April 18, 2010

Rapid design project for Uni.

So, as part of my course I have been asked to do a rapid design for something that stores something that we need at uni to be able to work effectively but do not want to be carrying back and forth from home to school. My take on this was a waste-paper bin. With most creative idea testing comes waste and in our building there is only a limited number of rubbish bins. So I have designed a mould that produces paper waste-bins that can be used then recycled when they are no longer needed.

(Click on any image to view it at full size)

Here are some other ideas I was considering for my rapid design.

Storage box – mobile desk. For work on the move. It is true that most people now use laptops but not all people prefer or want a laptop. There are some instances where pen and paper are still a must. Not to say that people with laptops couldn't use a mobile desk. On the contrary, laptops can be more comfortable when you have a surface to place them on and kept safe with a solid shell around them.

-a writing/drawing box, a place for pens and paper (envelopes, rulers, and so on), as well as a flat surface to work on. As in the 3rd Storage box image, the box also gives a straight edge which to align you T-square (useful when you are hot-desking and desk quality can not be assured.)

-a mobile desk, wheels to help transportation, storage and maybe even a chair contained within.

But, at the maximum it would have to be able to fit in the boot of a small car. For example, no bigger than your average sized suitcase.


Storage nets (or bags), light portable storage for bulky items. Designed to be use in various locations/sites.

The concept started with the desire to have a place to nap between uni classes. The original design started with a hammock like net that is hung long-ways under the large tables at university. Held in place by pockets that slip over opposite ends of the table. Not only could it be used for a quick nap but also as storage.

The second design focuses mainly on storage (although I'm sure if one made it big and strong enough, a person could curl up inside it). They have a loop at the top so they can hang where ever there is a hook.

From the second design I shrunk the concept so they could be hooked over the back of a chair. Handy for keeping bulky items off the floor (hand bags, drink bottles, bike helmets and such).

Any of these designs could be made from either netting or a solid fabric.


Waste Paper Bin - In studio only having one or two large bins per level means bins are never close at hand and this leads to messy desks and studio spaces. This concept will tackle the need for temporary rubbish bins (specifically paper waste bins). I want to look at temporary bins because of the nature of the studio space, one moment you are working the next everything needs to be cleared for presentations.

The use of recycled materials is also important. We do not need to make more rubbish just to dispose of our waste. Discarded newspaper would be ideal for this as it is readily available and quite strong.


The rubbish bin holder on wheels can be used in conjunction with the design above it.

The Paper Waste Bin Maker.

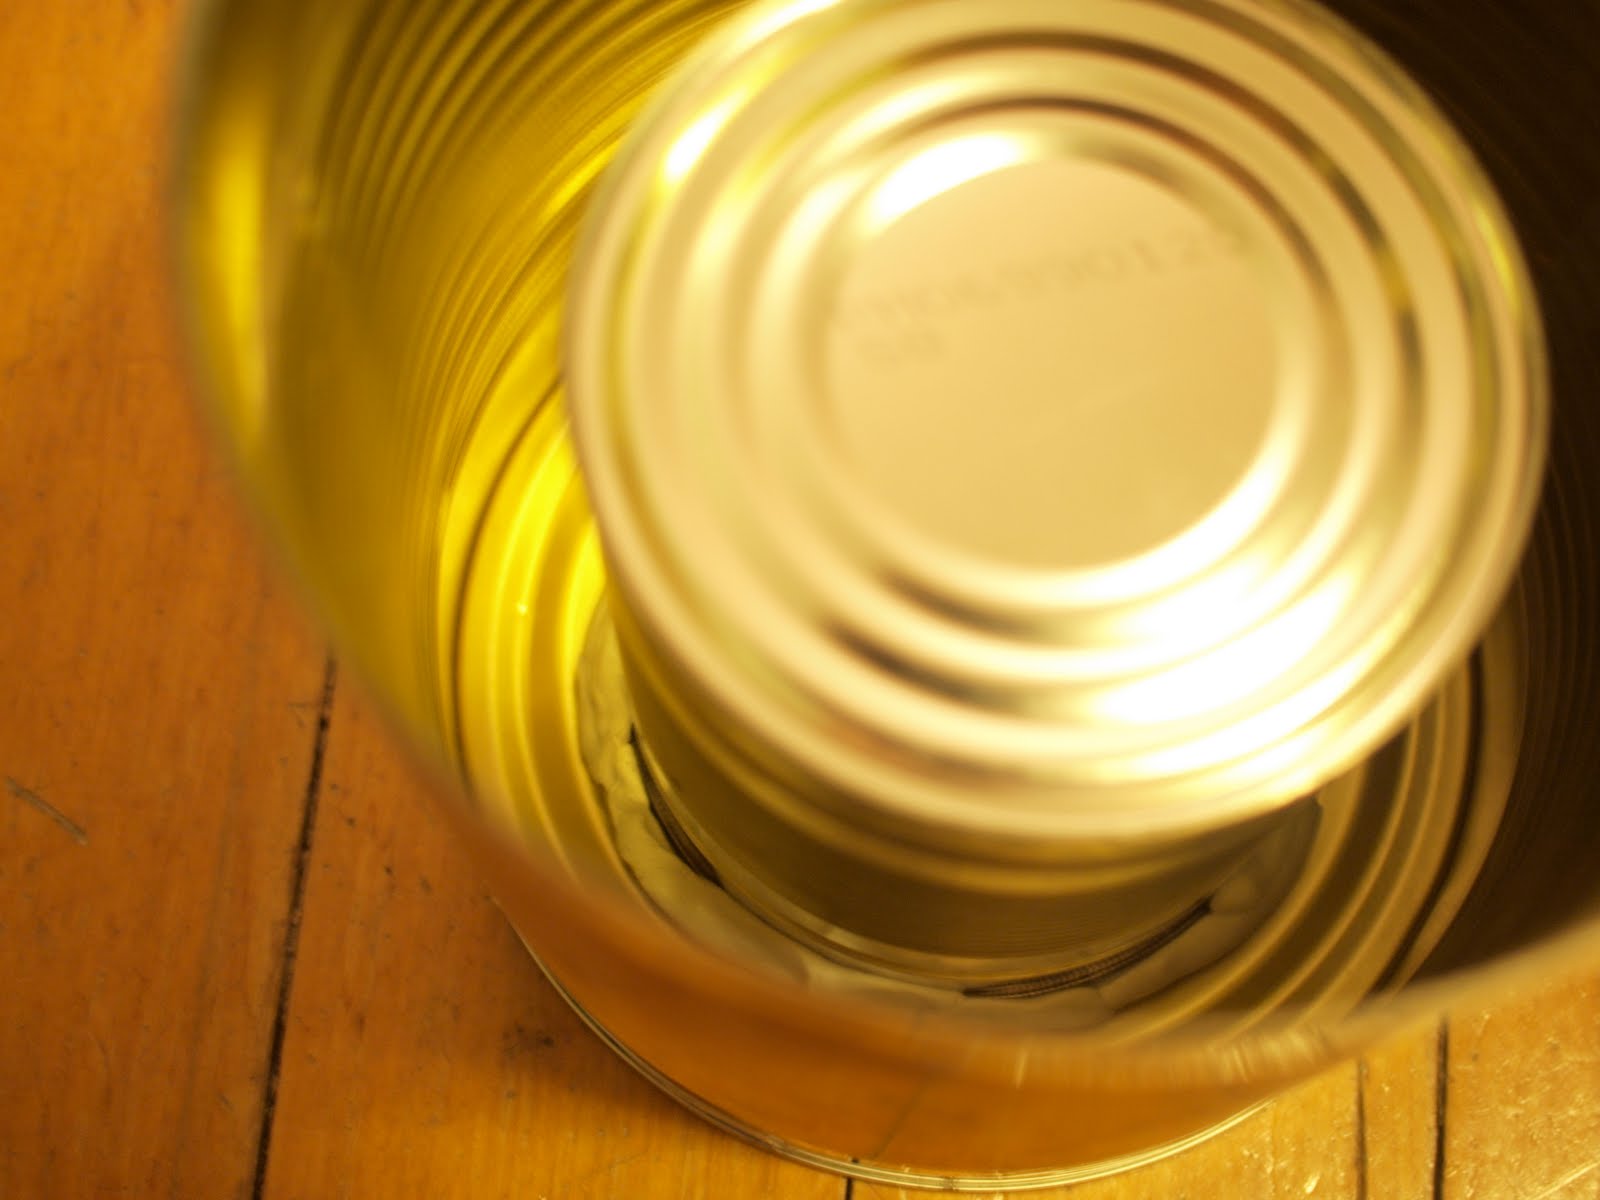
The Paper Waste Bin Maker is a mould that is used to create paper waste bins out of a single sheet of large newspaper. It can be made by anyone out of easy to obtain recycled materials (a large can, a slightly smaller can and a knob) and some easy to use epoxy. The Paper Waste Bin Maker was inspired by a design supplied by Suntec called The Paper Planter Maker. This product is a mould that enables the user to make paper planters for seedlings out of stripes of 8 by 21cm newspaper. I wanted to take this concept and adjust it to form disposable, recyclable waste-paper bins.


The Paper Planter Maker supplied by Suntec.

Construction.

First to test the idea of using a mould to make paper waste bins I used two buckets for the same brand and size. I wrapped the outside of one bucket in two sheets of partially overlapped newspaper and wrapped the excess under the bucket. I then took this (bucket and paper) and placed it inside the second bucket as to create a mould to compact all the newspaper. This model in principal worked, it did create a form that would hold waste but overall it failed as it is difficult to use and flimsy. Firstly the buckets were too big for the size of newspaper. Secondly the walls of the buckets were at an angel so it was difficult to wrap the paper around them and thirdly there was no compartment for the paper at the base to be moulded into making the base uneven and unsteady.


Initial test.

Taking into account my test with the buckets I could now see why the creators of the The Paper Planter Maker had made it as they had, the strait walls, the base unit to press the paper into a solid base, but there were three main components that I had to change. The original handle is difficult to keep a grip on, the smooth walls where the newspaper is wrapped create a vacuum when trying to remove the planter and the overall size is far to small to be used as a bin.

So after figuring out what needed changing I had to consider materiality. My first thought was to copy the original planter maker and make it from wood but then it occurred to me that it would be too heavy given its new size. Next PVC pipe but that would be too expensive along with metal pipe. Then maybe ceramic pots but those are also heavy, expensive and fragile not to mention that all ideas so far were using new materials and did not fit my criteria of being recycled. So what about cardboard tubes. A plausible material but quite difficult to get your hands on ones that are the right size as well as being surpassingly heavy. Then we come to tin cans, cheap if not free and extremely light.


Scale drawing.

Using tin cans allows anyone to make their own Paper Waste Bin Maker as well as solving 2 of the three issues I had with the original Planter maker. The uneven sides of the can allow for easier removal of your paper bin and size is solved because cans come in a surprisingly large variation of sizes. I added a large draw knob (if I was able I would have liked to use a recycled knob) to solve the handle issue. To connect all these components together I used Knead-It, a co-extruded epoxy that sets to almost any material and is extremely strong. The Knead-It is also very easy to use, all you need is a pair of protective gloves. I chose this product because of its versatility and ease so that assembly was in line with the idea that anyone could make their own Paper Waste Bin Maker.

Small can being attached inside the big outer can with the epoxy Knead-It.

I had originally intended to make the mould with a base unit for compressing the newspaper at the bottom of the bin but once I had constructed the main component of the mould I found that it worked perfectly well by just pressing the newspaper with your hand.


Thursday, February 11, 2010

Getting Crafty.

Finally got back into my crocheting. Made this hanging vase with recycled bottle. I love it because its so whimsical. I wonder what it would look like if I hung a whole lot of the together?


I think I need to start selling. I do want a "real" job but finding work in the creative/crafty sector seems nigh on impossible at the moment. So I'm going to try and make some more and see if anyone else thinks they are as cool as I do (hopefully you will all fall madly in love). So stay tuned, I'll let you know more once I have sorted it. Any advise would be most welcome.

Wednesday, May 20, 2009

Cute little dress.

A friend of mine gave me this wonderful vintage dress pattern. I'm trying to decide what sort of fabric to make it from. So far I know I want to make winter and summer versions. Trouble is I have so much black wool that the winter one will probably be black, I would prefer to have it grey. I love grey at the moment. Not flat grey but the sort that is made up of various depths of grey. I do have some grey wool left, fingers crossed I have enough.


As for the summer dress it would be great to get my hands on some blue Japanese fabric similar to the fabric that this pouch is made of.


Or even like the pattern below.


And here are a couple of cute amusing little things I found while googeling Japanese fabrics.


Monday, May 11, 2009

Spoonflower.

This is for everyone who loves fabric. I've always wanted to design my own and now I can thanks to the people at Spoonfabric. Just send them what you want and they print it for you. You don't even have to order very much, swatches are $5US to make sure you are getting what you want. I'm thinking maybe a retake on a vintage wallpaper or some whimsical drawings. I can see this could become quite addictive.

Sunday, May 10, 2009

Crate inspiration.

I have been thinking about shelving recently. I usually favour custom built bookshelves but the crate caught my fancy, they are so modular (and if you are lucky free). If you get board just move them about. The wood has texture and a great variation of colour (you can always paint or stain them too). So here are a few to gaze over and gather inspiration.


Monday, April 13, 2009

Love Easter.

So I hope you had a great Easter. I did! Put together a little indoor Easter picnic full of chocolate and painted eggs. My husbands family didn't really celebrate the festive side of Easter so I thought it was about time I gave him a taste of real Easter. Here are a few photos...


Here is a little something I came across. Made by theredthread. A blown ostrich egg covered in chalk paint. Such a great way to leave little notes or just doodle your time away
(and not just during Easter).